
Preface
Adblockers such as AdBlock and uBlock have been around for a long time now, however, these are typically available and designed for use within your web browsers only and not across your whole home network. Devices such as smartphones, TV's, and media players will continue to serve advertisements unless you decide to install a DNS server that can block such requests, in this case, a Pi-Hole.
Pi-Hole, while originally developed for use on a Raspberry Pi, will actually run on the majority of Debian based distro's and act as a DNS server for all of the devices on your network. Pi-Hole blocks hundreds of thousands of ad-ridden domains and can block virtually all advertisements without having to install browser extensions.
The steps below will show you to install Pi-Hole on Ubuntu 18.04 virtual machine running inside ESXi.
How to: Install Pi-Hole on Ubuntu 18.04
- Create the virtual machine inside ESXi with the hardware you think is ideal. In my case, I selected 1 CPU, 512MB of RAM and 15GB of SSD storage.
- Inside the Ubuntu installation options, configure a static IP for the main ethernet interface on the network you'd like for the Pi-Hole to communicate on. In my case, I utilize 172.16.253.0/24 for the non-vlan'd network and put the Pi-hole on a static IP inside that network.
- Proceed through the installation and then wait for the installation to finish.
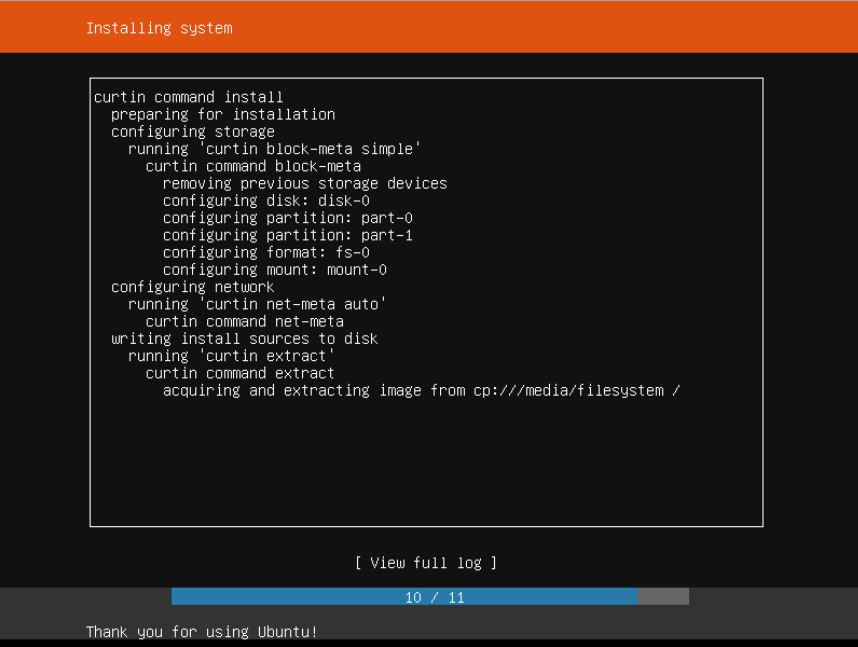
Once the installation of Ubuntu 18.04 has finished, choose the 'Reboot Now' option, remove the installation disc (should be done automatically on ESXi 6.7) and wait for the VM to boot back up.
Once the VM boots back up, you will want to follow these simple steps in order to Install Pi-Hole on Ubuntu 18.04
1: Log in with your recently created user account and issue the following command:
sudo apt-get update && sudo apt-get upgrade -y
This will ensure that your Ubuntu 18.04 installation is fully up to date before proceeding with the installation.
2: Downloading and installing the Pi-Hole script:
sudo wget -O pihole-install.sh https://install.pi-hole.net
3: Make Pi-Hole script executable:
sudo chmod +x pihole-install.sh
4: Start Pi-Hole installation script:
sudo ./pihole-install.sh
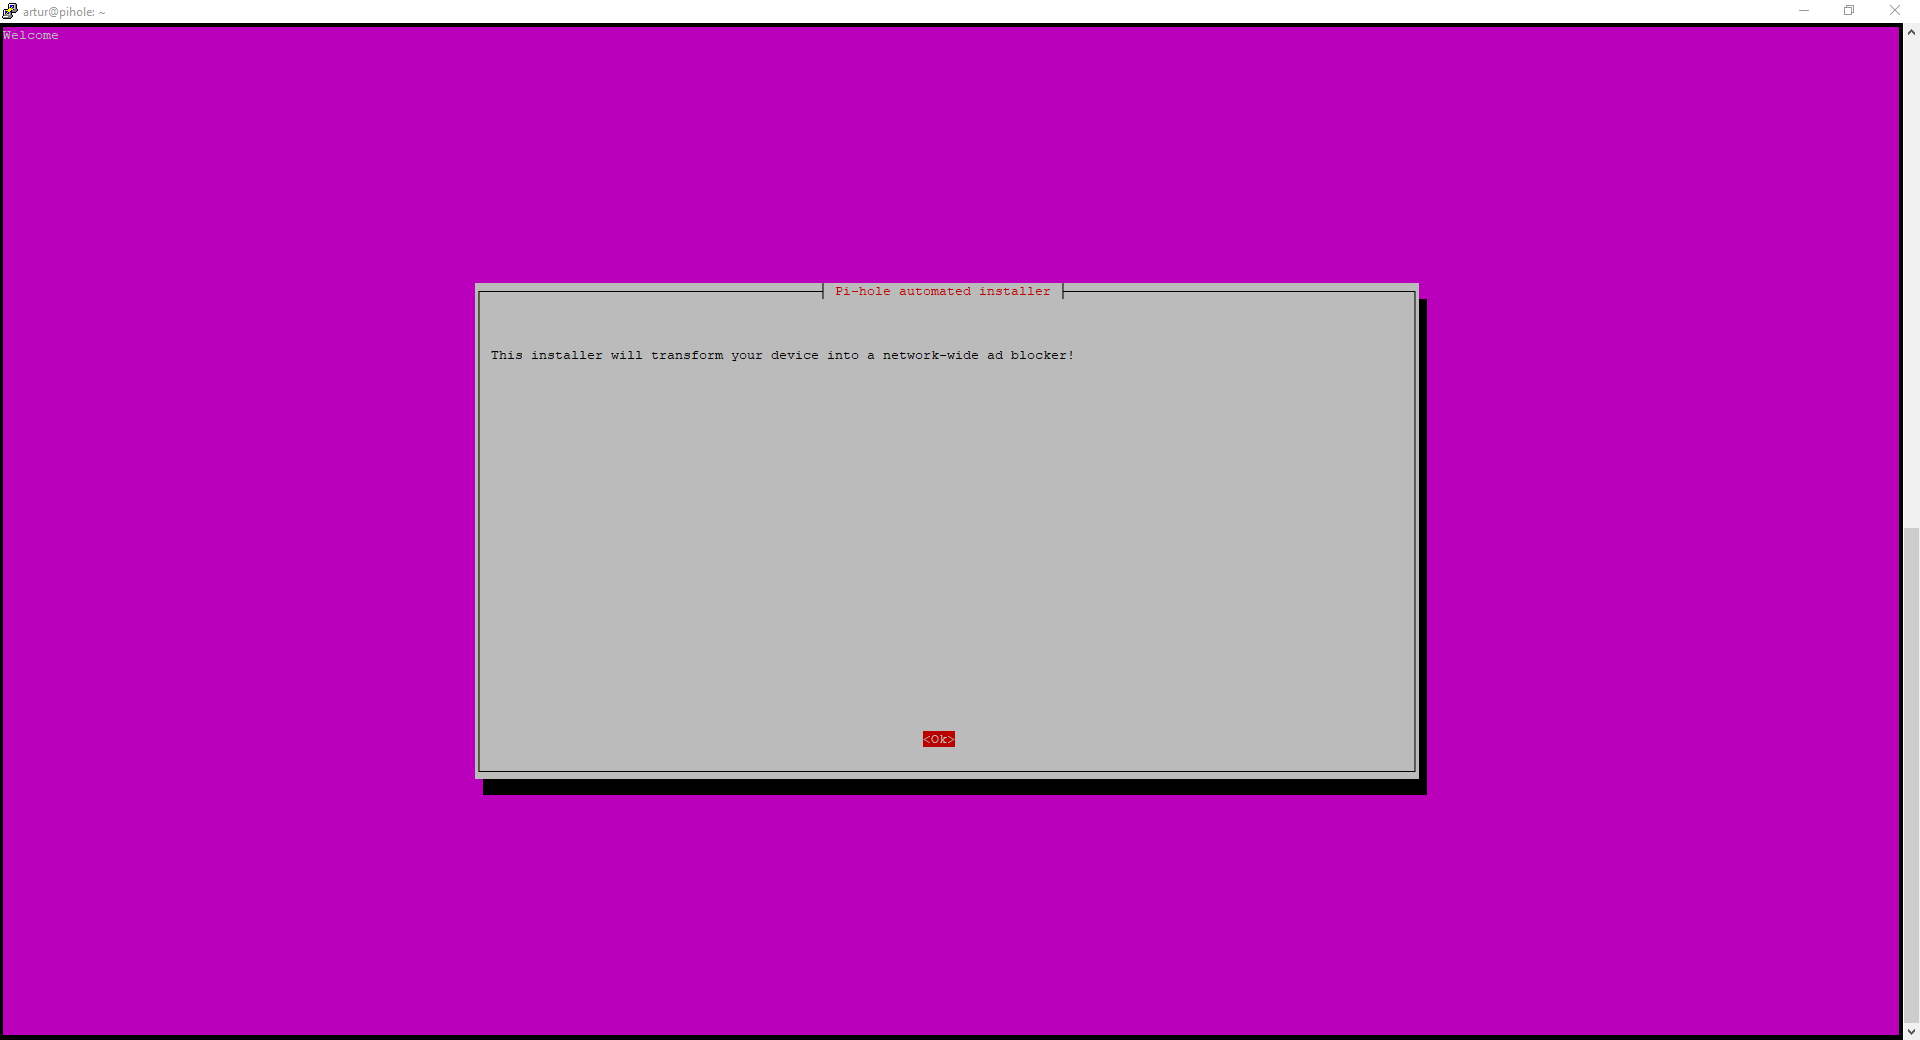
5: Select OK, and then select your Upstream DNS provider. In my case, I utilize Cloudflare (1.1.1.1) as my Upstream DNS provider. Continue to the page that will allow you to select some default blocklists.
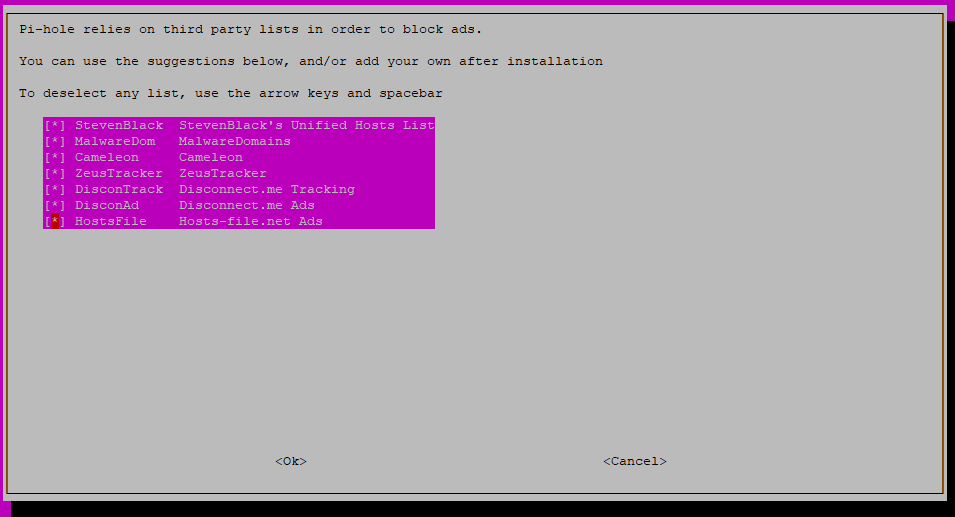
I utilize all the default blocklists. You can now configure the rest of the Pi-Hole including whether or not you'd like an admin interface (I recommend you install it, makes life much easier) and what IP the Pi-Hole should operate on.
Once all those settings have been collected you should see the script working and then an 'Installation Complete!' screen that will display how you can view the web interface as well as your randomly generated web interface administrative password. Ensure that you jot down the admin password.
6: Visit your web interface by going to http://IP.OF.Pi.Hole/admin - You should see the following web interface, if you decided to install it.
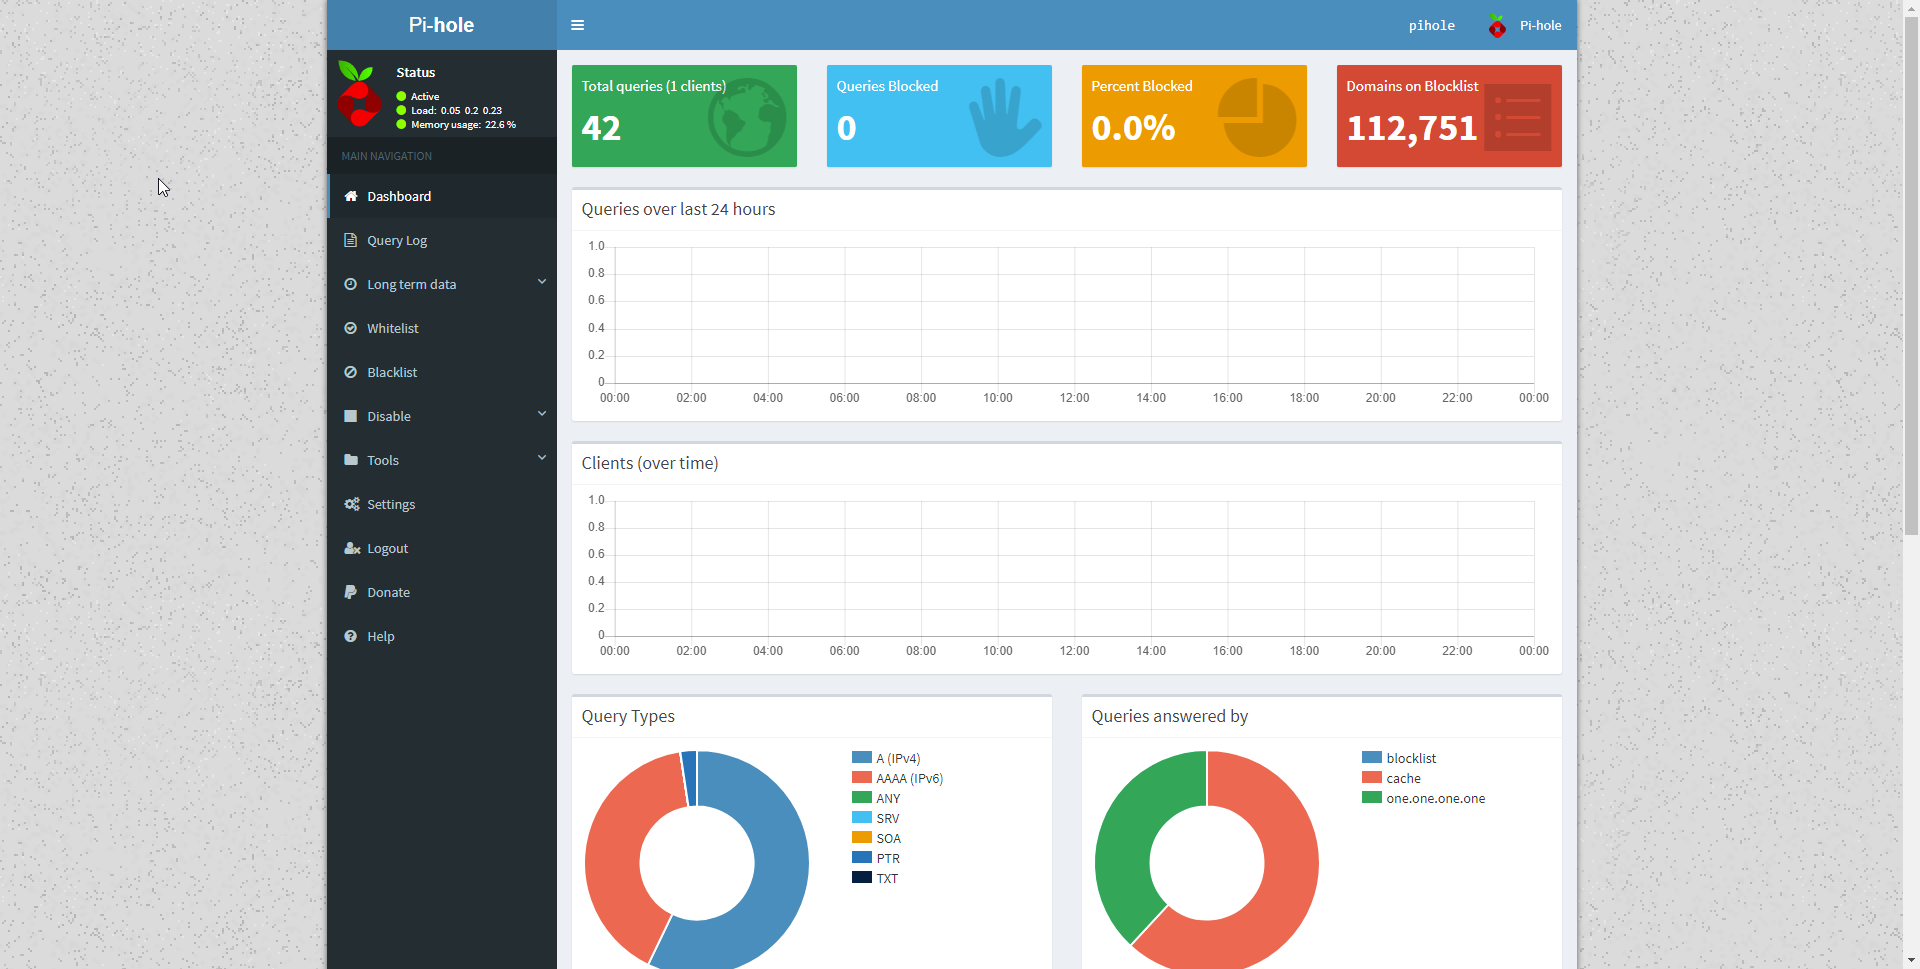
You have now finished the install of Pi-Hole on Ubuntu 18.04. You can now go to Settings and then Blocklists and add additional blocklists if you would like.